
Our first tutorial is all about the Obyte Wallet – how to install it, set it up, and create a secure backup.
It’s your entry point to the decentralized Obyte network.
No account, no registration – just download and get started.
Table of Contents
1. Download & Installation
You can find the official Obyte Wallet here: https://obyte.org/#download
Available for:
- 📱 Mobile: Android, iOs
- 💻 Desktop: Windows, macOS an Linux
Download the version that matches your device and follow the installation instructions.
💡 TIP: Only download from the official links on obyte.org – never from third-party sources or unofficial app stores.
2. Initial Setup
Accept Terms of Use
When you open the wallet for the first time, you’ll be shown the Terms of Use.
Simply read through them, scroll down, and tap AGREE.
Full or Light Wallet?
If you’re using the wallet on desktop, you’ll be asked which version you want to use:
- Download the entire Obyte Database (Full Wallet)
- Keep only data relevant to you (Light Wallet)
For getting started, we recommend the Light Wallet – it’s quick to set up, ready to use instantly, and more than enough for everyday use.
Difference between Full and Light Wallet → explained below
Full Wallet
Downloads the entire Obyte database – this can take a lot of time and storage space.
Light Wallet
Stores only the data that’s relevant to you.
💡 TIP: For most users, the Light Wallet is more than enough – the Full Wallet is mainly for advanced use.
Choose a Name
Next, choose a name for your wallet. This name will show up in chats and other places – and you can change it at any time.
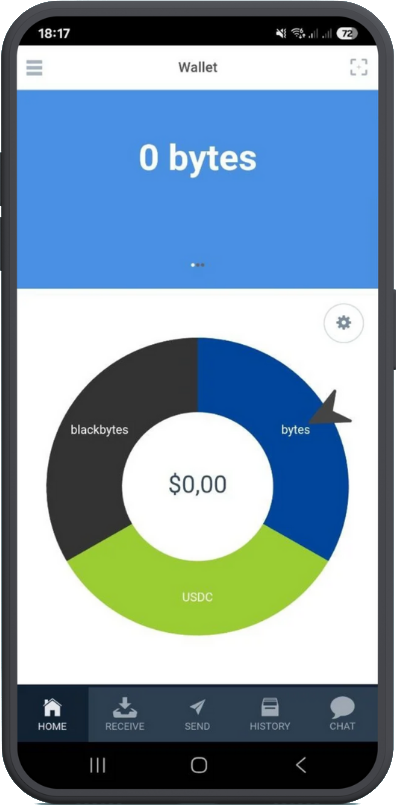
Welcome to your Obyte Wallet!
3. Change Language
Open the menu in the top left corner (☰), scroll all the way down, and tap on Settings.
There, select Language and choose your preferred language.
The wallet currently supports the following languages:
| 🇮🇩 Bahasa Indonesia | 🇧🇦 Bosanski | 🇨🇳 中文 (Chinese) |
| 🇩🇰 Dansk | 🇩🇪 Deutsch | 🇳🇬 Èdè Yorùbá |
| 🇬🇧 English | 🇪🇸 Español | 🇵🇭 Filipino |
| 🇫🇷 Français | 🇬🇷 Ελληνικά (Greek) | 🇮🇳 हिन्दी (Hindi) |
| 🇭🇷 Hrvatski | 🇮🇹 Italiano | 🇯🇵 日本語 (Japanese) |
| 🇰🇷 한국어 (Korean) | 🇭🇺 Magyar | 🇳🇱 Nederlands |
| 🌍 Nigerian (Pidgin) | 🇵🇱 Polski | 🇵🇹 Português |
| 🇷🇴 Română | 🇷🇺 Русский (Russian) | 🇦🇱 Shqip |
| 🇷🇸 Srpski | 🇸🇪 Svenska | 🇻🇳 Tiếng Việt |
| 🇹🇷 Türk | 🇸🇦 العربية (Arabic) | 🇪🇪 Eesti |
4. Set a Password
For added security, you can protect your wallet with a password.
This password is required not only when opening the wallet, but also when making transactions – so it’s highly recommended to set one.
To do this, open the menu again, go to Settings, and scroll down to the Spending Restrictions section.
There, enable the option Ask for password and choose a secure password.
5. Create a Backup
A backup protects your wallet – in case your device is lost or damaged.
To create a backup, go to Settings.
At the bottom, you’ll find the Backup section with two options:
- Back up all wallet data
- Back up seed words only
For now, we recommend selecting Back up all wallet data – this creates a complete backup.
💡 TIP: In a later tutorial, we’ll take a closer look at the differences between these two options.
After selecting your backup method, you’ll be asked to set a password for the backup.
Finally, tap Export – and you’re done.
A file named “ObyteBackup-DATE.encrypted” will be created on your device.
Make sure to store it in a safe place – like a USB stick or an external hard drive.
✅ Done!
You did it 😎
Your wallet is now fully set up and ready to go! 🚀